One of the more popular media choices for teams and sportscasters over recent years is actually something quite old. Creating GIF highlights for easy sharing on social media is a great way to share special moments in a timely and immersive way. GIF’s play automatically on many popular social media platforms and are very easy to produce. Leave it to something that was created in the 80’s to show us a new way to interact with a fan base.
But how do you create those great 5-10 second looping GIF highlights? It’s a lot easier than you think…so here’s two ways to achieve a great look with minimal resources.
What’s needed?
For both of these methods, you’ll need a few things. The first is obviously video. Whether it’s recorded or live streamed, you will need a video file that you can work with to create your GIF highlights. Many live streaming providers (such as Neulion, HockeyTV, etc) allow for ‘clipping’ of live video, while if you’re using a camcorder or other camera to stream or record the game, you could use an SD card to record video files for you to work with.
Secondly, you’ll need some sort of video editing software. We’ve covered a range of them in the past, and many will work here. For method #1, we’ll work exclusively in a pro-level video editor, while method #2 opens up some more options. For this demonstration we’ll be using Adobe Premiere to export our GIF highlights, however the steps and settings will apply to many professional and pro-sumer editors…in short, the instructions will be for Premiere but the principles are universal.
Method #1: Using a video editor
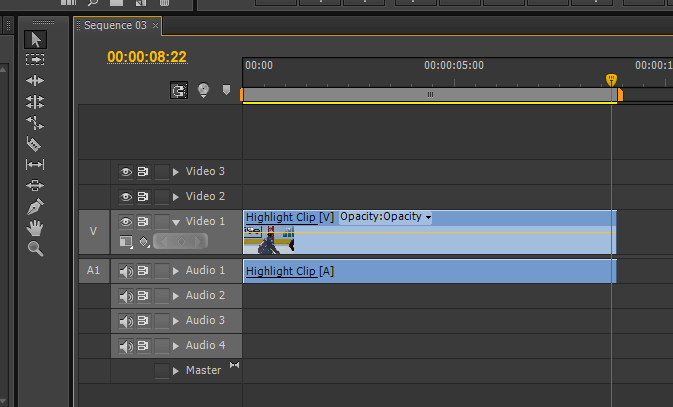
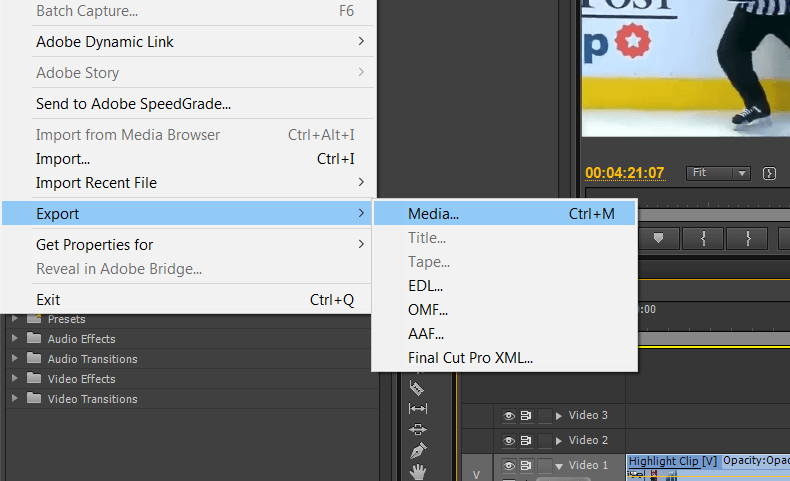
The quickest and perhaps easiest way to achieve a GIF output is by exporting one from a video editor. Once you have your GIF highlights cut (ideally around 5-10 seconds long, the one we’re using is almost 9 seconds), you can begin the task of exporting the video directly as a GIF. In Adobe Premiere, you’ll want to go to the File menu, down to Export and select Media.
The output settings will differ, depending on your video. First, select “Animated GIF” from the format menu. Then we’ll work on some custom setings. Assuming you’re recording/streaming in HD then you’ll likely want to start with 1280 x 720 with the width and height, set the frame rate to 15, the field order to progressive and the aspect ratio to square pixels. This will best replicate the video version and avoid many issues including streaking in the video and black bars on the top and bottom.
Once you have the settings to match the video, you can begin to scale down. Exporting this GIF as is (at 100% quality) produces a file that’s over 100mb…much too big to upload to social media. We scaled down the width to 400, which automatically reduced the height to 225. We also shrank the quality to 60% and didn’t notice too drastic of a change.

Now we have a GIF file that can be uploaded to social media channels and shared easily. The whole process from editing to exporting takes less than five minutes and is very easy to manage in a intermission or inning break.
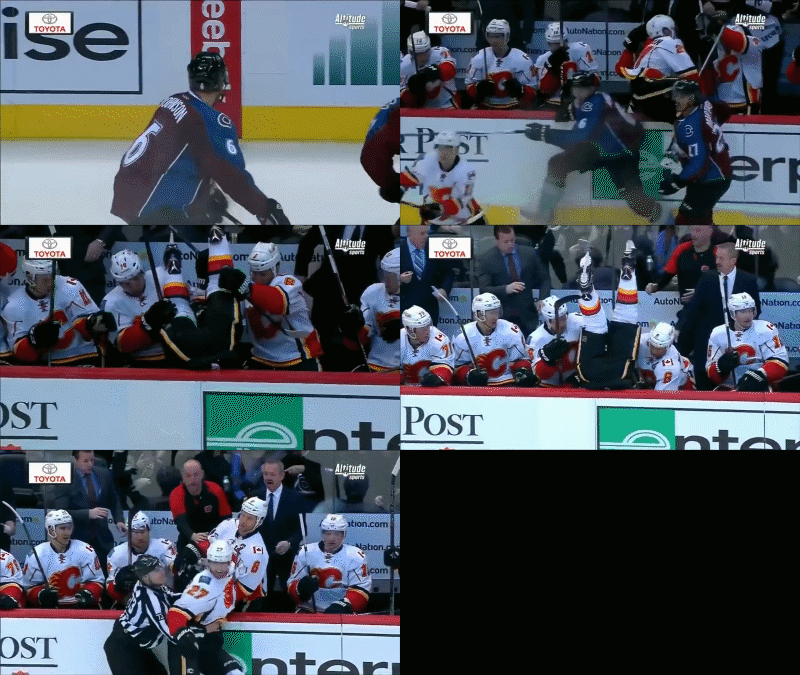
Finished product exported directly from Adobe Premiere Pro
Method #2: Converting Video to GIF
In this step we’re going to take an extra step, but it does open up some options. By exporting a video file, then converting it we produce two files, meaning you could upload a GIF on Twitter (for example) and a video with audio on Facebook. It gives you options, but does take a little longer.
Follow all the steps above until the export settings. Instead of exporting our GIF highlights as a GIF file, we’re going to export a movie. MP4 format is the preferred web video format, as it combines excellent video resolution with small file size. Exporting our 1280 x 720 video, which is 9 seconds long, produces a 5mb video file.

Now we need to convert the file, and doing so is easiest using a web-based GIF converter. The best we’ve found is ezGIF, which allows not only conversion but basic editing too in terms of resizing or frame rate reductions.
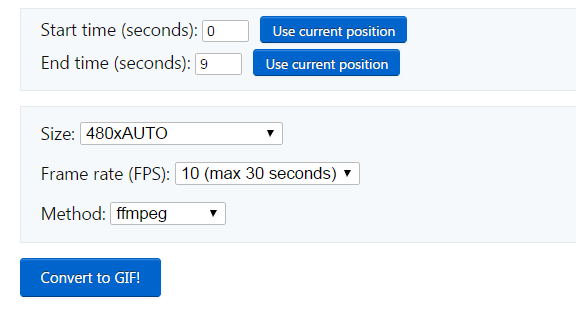
Upload your image and play with the settings. We changed the output to 480xAUTO to closely match the 400 x 225 output we made in Adobe for method #1. This provided a GIF of just over 7mb, slightly larger than our exported one. ezGIF allows you to optimize the GIF, and by changing the compression from 35 to 200 resulted in a 2.92mb GIF that we can save and share on social media.

So there you have it. With this method you get a video file with audio to share, plus a GIF…but you do have to go through the extra step.
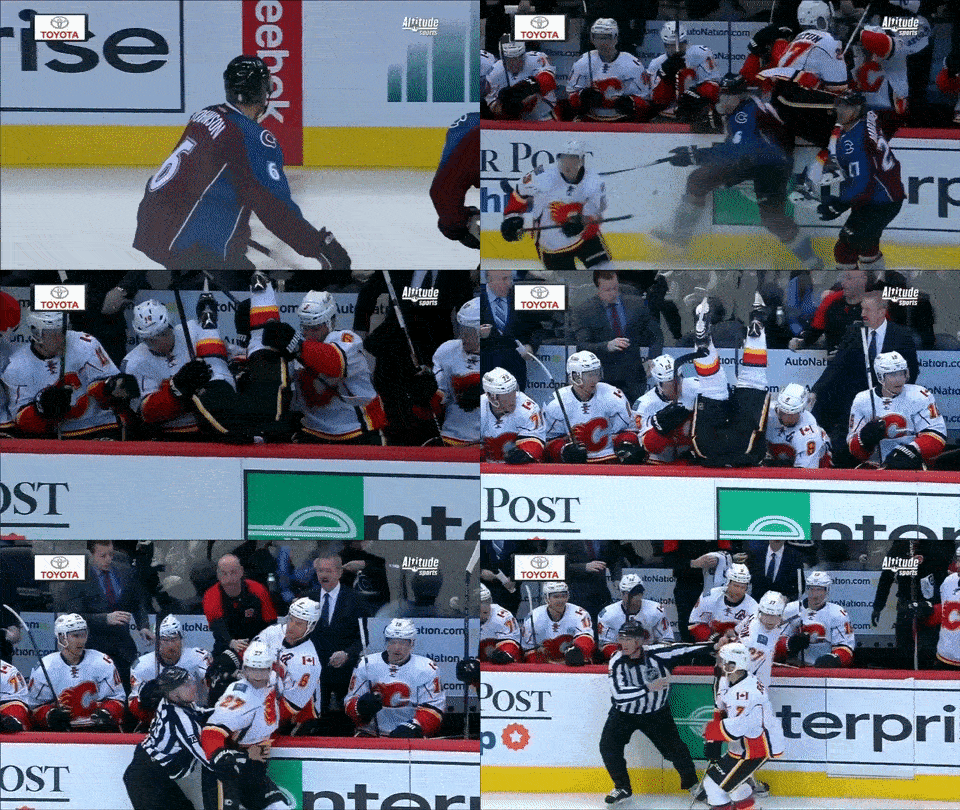 Converted version from ezGIF |  Adobe Premiere export |
|---|
As you can see, the converted version is a little granier and not quite as smooth as the exported version from Premiere. The frame rate is lower (10 vs 15), the compression is higher and the frame size is larger. However the file size is significantly less.
Ultimately there is no ‘right’ method, it’s whatever works for you. Method #1 probably produces a better product that’s quicker to share, however method #2 is more flexible and ultimately creates a smaller file which could be easier to share.
So that’s how to create GIF highlights for sharing on social media.


